
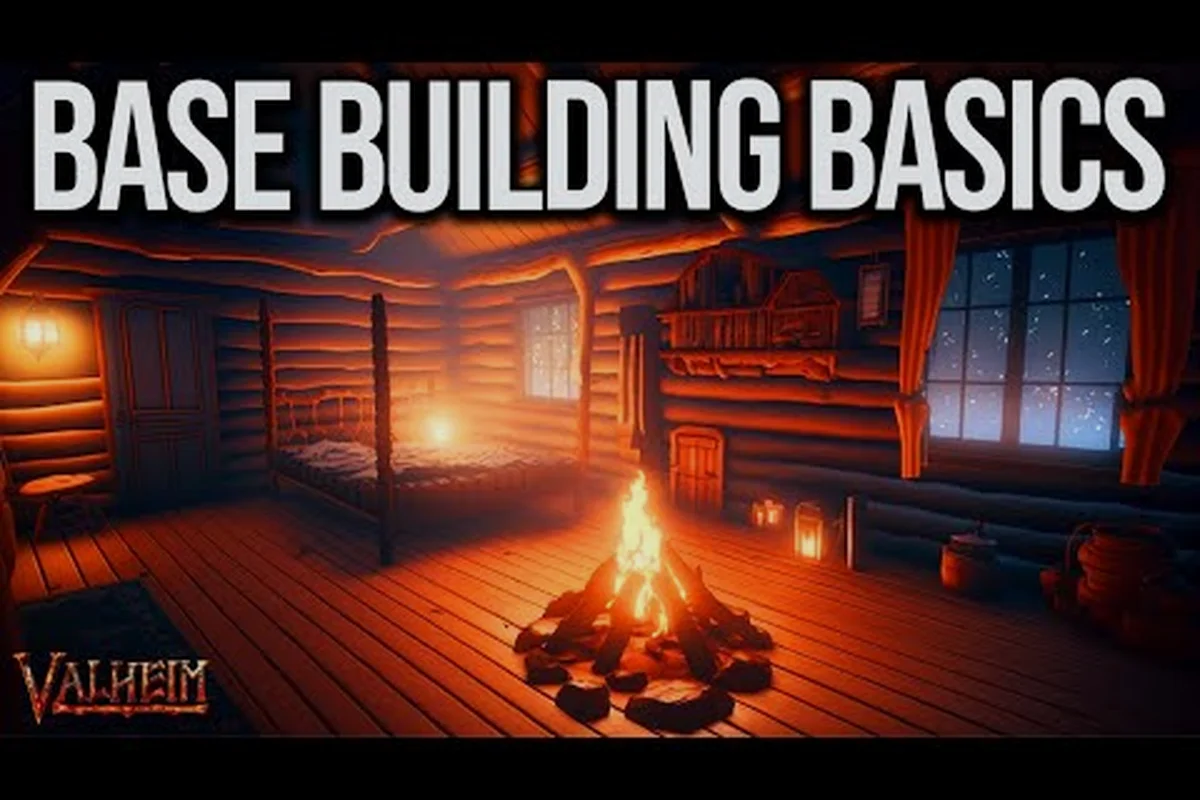
A solid shelter is the first thing that separates a Viking who lasts the night from one who loses everything to a troll, and this Valheim building guide walks you through every step from placing your first workbench to raising a roof that survives a raid. The game's free-form construction system hides a surprising amount of depth: colored beams tell you what will stand, the snap grid lets you snap pieces at clean angles, and a chimney turns a fire pit from a death trap into the heart of your base. Whether your goal is a starter hut before the first boss or a long-term hall in the Meadows, the same foundational rules apply.
Understanding the Valheim Snap System and Build Grid
Before placing a single timber, you need to understand the grid that holds every Valheim base building project together. Construction is fully free-form, but pieces only attach when they align to an invisible world grid and to a small build grid that wraps around your current placement. According to the Valheim on Steam store page, this system is what makes a sprawling Viking longhouse possible without every wall drifting out of place. Hold the build mode key, hover over a valid workbench or existing structure, and you'll see the snap point highlight as a faint green outline.
How the Snap Point Highlight Works
The green outline is your visual confirmation that a piece will anchor to an existing support. Move the piece slightly and the outline shifts to a different beam, wall, or ground tile, telling you exactly where the next plank will land. This is the same logic used to extend a roof, line up a second floor, or build a bridge across a river. Without the snap system, every pillar you place would float in space, and structural integrity would fail almost immediately.
| Snap State | Visual Cue | What It Means |
|---|---|---|
| Locked to support | Bright green outline | Piece will anchor to wood/ground/roof beam |
| Snapped but unsupported | Blue outline | Connected, but too far from a vertical support |
| Will not connect | Red outline | No valid anchor; placing here wastes materials |
| No outline | Nothing highlighted | Cursor is not on a buildable surface |
The same color code is reported by community testing on the Valheim Wiki, where players emphasize that blue pieces can still be placed but will collapse once the world unloads. That means a blue outline is not a hard block — it is a warning that the piece is clinging to unsupported geometry, and you should add a beam or stake before logging out rather than after.
Free Rotation vs. 45-Degree Snap
By default, pieces rotate in fine 5-degree increments, which is great for organic shapes but terrible for square rooms. Press a modifier key to lock rotation to 45-degree steps, and the snap point will jump from corner to corner instead of drifting across a wall. The community calls this "Valheim 45 snap," and almost every experienced builder uses it for the main frame of any Valheim house design. Fine rotation comes back into play for slanted roof beams, decorative thatch edges, and the angled supports inside a watchtower.
Structural Integrity and the Color Code That Saves Your Build
Structural integrity is the silent killer of every first-time base. The moment you remove a stake, push a roof piece too far from a wall, or stack too many floors on a thin core beam, the game tags the unsupported segment in blue and then in red. According to community data compiled on the Valheim Wiki, pieces display green when fully supported, blue when connected but without a support column beneath, and red when they will collapse as soon as the cell unloads. This color rule is the single most important concept in any Valheim building guide, and it drives every base design decision in the game.
Support Distance, Floors, and Stakes
A wood beam or pole can support floors and roof sections within a limited horizontal and vertical radius. The rule of thumb reported by players is that each wood piece supports roughly four meters horizontally and about two meters vertically before integrity drops. Adding a wood beam running horizontally across the top of a wall extends that reach and lets you span wider rooms without columns in the middle. Stakes driven into the ground act as the foundation anchor for the whole build, so a base without stakes will collapse the first time you log out.
| Material | Max Support Radius (approx.) | Best Use |
|---|---|---|
| Wood core | ~4 m horizontal | Starter hut, single floor |
| Wood beam | ~6 m horizontal | Wider halls, second floor |
| Core wood | ~8 m horizontal | Mid-game longhouses |
| Iron beams | ~10 m+ horizontal | Late-game megabuilds |
For a thorough breakdown of beam types and how far each can carry a roof, the Valheim building stability guide walks through the exact support math and explains why a thin wood core often collapses a second story. It also covers iron beam reinforcement, which is the upgrade that lets megabase builds span rooms without a single visible column.
Common Causes of Collapsed Builds
Three mistakes account for almost every collapse. First, players extend a roof without a beam directly above the wall, so the overhang stays green for one cell and then turns blue the next. Second, they remove a stake to "tidy up" the foundation and lose the entire support chain. Third, they place a hearth inside a closed room with no chimney hatch, and the smoke damage combined with the missing structural link collapses the roof within minutes. The fix is always the same: add a beam, replace the stake, or cut a chimney hole before lighting the fire.
Building Your First Valheim House Step by Step
The fastest way to learn Valheim how to build a house is to actually build one, and the game expects every player to raise a starter hut before the first boss. The order matters: a covered workbench, then a roof, then a hearth with a chimney, and finally walls thick enough to stop a greydwarf brute. Skipping any step means either a raid that walks straight through your door or a structure that collapses during the night.
Step 1: The Covered Workbench
You cannot build anything without a workbench, and you cannot use a workbench in the rain or under the sky. Place a workbench under any existing tree canopy, then throw up a quick 2x2 floor of thatch and four wood walls to cover it. According to the official store description, the workbench is the heart of base progression, and a covered workbench is the gateway to every crafting station in the game. A 3x3 footprint is a good starter size because it leaves room to add a chest and a small forge later.
Step 2: Frames, Walls, and the First Roof
With the workbench safe, gather wood from nearby forest, core wood from pine trees in the Black Forest, and thatch dropped by regular trees. Build a 4x6 floor of wood, raise core wood walls at each corner, place wood wall sections between them, and then drop thatch roof pieces in a layered pyramid. Rotate each roof tile 45 degrees to create a clean ridge, and remember the structural rule: every roof piece must have either a wall, beam, or another roof piece directly beneath it within the support radius.
Step 3: Hearth, Chimney, and Smoke
A hearth is the warm, defensive heart of any Valheim base, but it is also the most common cause of accidental fires. The hearth must be placed on a wood floor with at least one open side for ventilation, and it must have a chimney made of thatch or wood wall pieces running up through the roof. Cut a 1x1 hole in the thatch directly above the fire, then stack thatch walls upward until the smoke has a clear escape path. If the chimney is blocked, smoke will fill the room, deal damage, and eventually catch the structure on fire.
| Build Order | Required Materials | Common Mistake |
|---|---|---|
| Covered workbench | 10 wood | No roof over the bench |
| Floor + walls | 30 wood, 10 core wood | Walls without core wood corners |
| Thatch roof | 20 thatch | Roof without a ridge beam |
| Hearth + chimney | 5 stone, 10 wood | Chimney blocked by roof tile |
| Door | 4 wood, 1 leather | Forgetting the 1x2 doorway opening |
Valheim Base Design Ideas From Simple Hut to Longhouse
Once the starter hut is standing, most players want bigger Valheim house ideas: a longhouse, a blacksmith hall, a coastal dock, or a treehouse. The good news is that the same three rules (workbench first, structural integrity second, hearth with chimney third) apply to every scale. The bad news is that larger builds expose every shortcut you took on the starter hut, so it pays to learn the patterns before going big.
The 4x6 Starter Hut
The 4x6 hut is the canonical beginner build because it fits a workbench, a forge, a bed, and a small storage chest with room to spare. Place core wood poles at each corner, add a 2-meter thatch roof, and use the 45-degree snap to align a small gable above the door. The roof needs a horizontal wood beam at the ridge so each thatch tile has a direct support line, otherwise the windward side will turn blue the first time the weather changes.
The Black Forest Longhouse
Once core wood and fine wood are flowing in from birch and oak trees, scale the 4x6 hut into a 6x14 longhouse with a central hearth and two rows of support beams. This is where structural integrity matters most: a 6-meter roof span without a central beam will collapse under the weight of fine wood walls, while the same span with two core wood beams at 3-meter intervals will stand for hundreds of in-game days. Players on the r/Valheim community report that longhouses built around a central hearth also deliver the highest comfort rating per square meter, which in turn powers the rested buff and faster skill progression.
| Building Type | Footprint | Best Biome | Key Feature |
|---|---|---|---|
| Starter hut | 4x6 | Meadows | Covered workbench + bed |
| Black Forest longhouse | 6x14 | Meadows edge | Central hearth, fine wood walls |
| Swamp outpost | 4x4 | Sunken crypts | Mud foundations, wicker roof |
| Mountain fort | 8x8 | Mountain | Stone walls, frost resistance |
| Plains manor | 10x20 | Plains | Crystal walls, large hearth |
Defensive Walls, Comfort, and Late-Game Design
Once a longhouse is up, the next layer of any Valheim base design is the perimeter wall. Stakes alone will not stop a troll, and a full stone wall requires a charcoal kiln and iron from the Swamp. Many players build a 2-meter-tall wood wall with a raised earth berm behind it, then upgrade the wall to stone once iron is available. Inside the walls, comfort items like banners, rugs, and the dragon bed raise the comfort level to 17, which delivers the longest rested buff in the game.
For ideas on how to arrange a comfort-focused interior, the Valheim how to increase comfort guide breaks down the exact furniture combinations and comfort thresholds needed for the top-tier rested bonus. The quick version is that banners, rugs, and a dragon bed stack their effects, so even a modest 4x6 interior can reach comfort 17 with the right pieces arranged near the hearth.
Common Valheim Building Ideas and Raid-Proofing Tips
The best Valheim building ideas are usually simple frames with one clever trick: a covered porch, a hidden staircase, or a moat that funnels raids into a single kill zone. Raids scale with the number of players and the number of build pieces in the area, so a starter hut is rarely attacked while a 200-piece hall is a guaranteed target after Bonemass. Plan for the raid before it happens rather than after.
Defensive Layers That Actually Work
A layered defense starts with a stake wall to slow greydwarves, a wood wall on top to block projectiles, and a workbench placed at the entrance so the build radius prevents spawns inside. The next layer is a 1-meter ditch that trolls cannot jump across, and the top layer is a ward activated after defeating the fourth boss to stop all events within a 20-meter radius. According to community data on the Valheim Wiki, the ward is the single biggest defensive upgrade in the game, and every late-game base should be designed around it.
| Raid Event | Trigger | Recommended Defense |
|---|---|---|
| Forest is Moving | Eikthyr defeated | Stake wall + 2-meter ditch |
| The ground is shaking | The Elder defeated | Stone wall + 1-meter trench |
| They're everywhere | Bonemass defeated | Stone wall + raised earth berm |
| A foul smell | Moder defeated | Stone + crystal walls, ward |
| The plains are calling | Yagluth defeated | Ward + obsidian wall |
For a full walkthrough of stake placement, ditch depth, and ward activation timing, the Valheim defensive walls guide covers each tier in detail and explains why a low stone wall outperforms a tall wood wall against trolls. It also includes the exact trench dimensions that stop a Fuling raid cold and the ward placement trick that keeps your portal hub event-free.
Building in Tough Biomes
Every biome demands its own Valheim base building adjustments. The Swamp requires mud foundations and wood beams sunk into wet ground, otherwise the entire base slides into the water. The Mountain demands a stone cutter and stone walls because wood structures freeze and lose integrity faster. The Plains biome is the most dangerous, because deathsquitos can one-shot an unprepared Viking, and black marble walls are the only material strong enough to resist a lox charge. For boss progression that often triggers the next raid tier, the Valheim boss order guide maps each summon to the raid that follows, so you know exactly when to upgrade your walls.
Frequently Asked Questions
What is the first thing I should build in Valheim?
A covered workbench is the first priority, because no other crafting station can be placed without it. Drop a 3x3 wood floor under any tree, add four thatch walls and a thatch roof, then place the workbench inside so it stays dry and protected from greydwarves.
How does Valheim structural integrity work?
Each wood piece has a maximum support radius. Pieces turn green when fully supported, blue when connected but missing a vertical support, and red when they will collapse as soon as the cell unloads. Add a wood beam or a core wood pole to extend the support radius and turn blue pieces back to green.
Can I build a house without a workbench?
You can place the foundation floor and a few support poles, but you cannot raise walls, roofs, or thatch without a workbench nearby. Always build the workbench shelter first, then expand outward so the build radius covers the rest of the base.
Why does my Valheim roof keep collapsing?
The most common cause is a roof piece placed too far from a vertical support. Drop a horizontal wood beam at the ridge line and add core wood poles every 4 meters so every thatch tile has a direct support path. Remove any stake you placed temporarily, because a missing stake breaks the entire support chain.
Do I need a chimney for every fire in Valheim?
Yes, every hearth, bonfire, or sconce placed indoors must have a clear path for smoke to escape through the roof. Cut a 1x1 hole in the thatch directly above the fire and stack walls upward to form a chimney, otherwise smoke will fill the room and eventually set the structure on fire.