
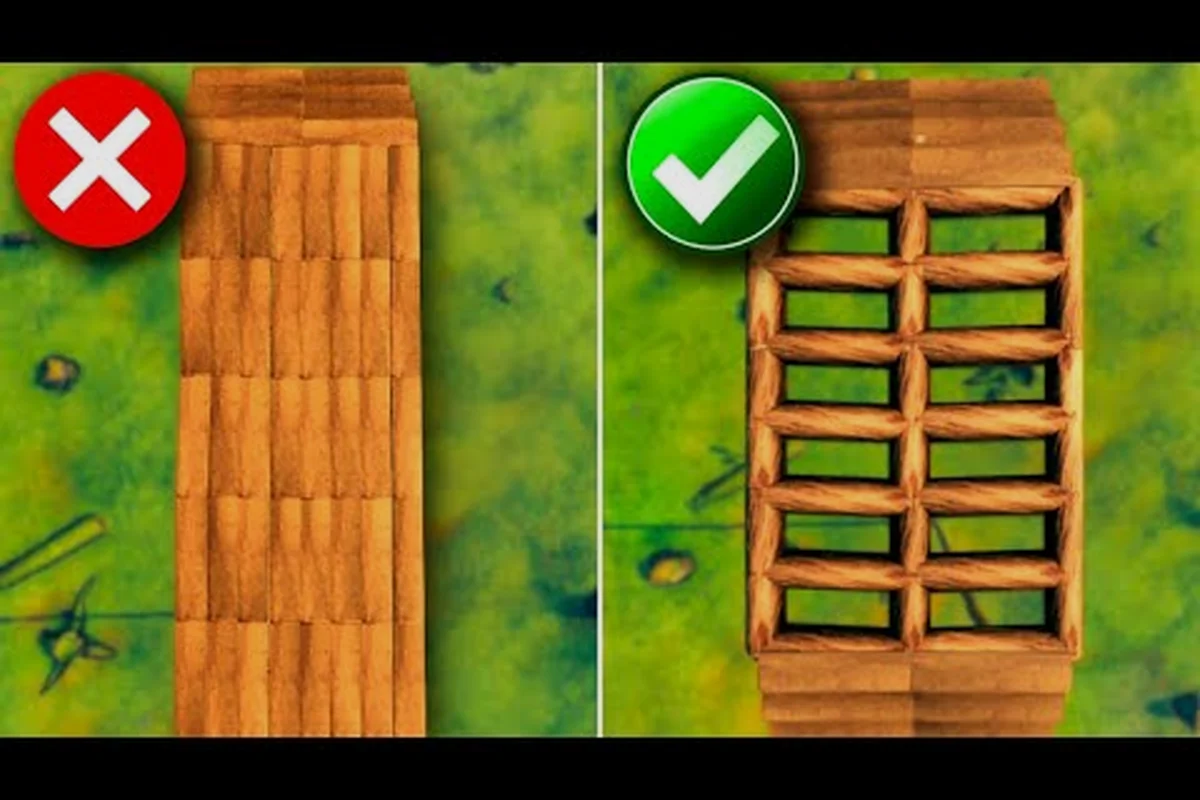
Raids in Valheim escalate with every boss you defeat, which means your first wooden stake wall will not stop a Fuling party for long. A proper Valheim defensive wall setup blends moats, raised earth, stone barriers and clever terraforming to give your base real staying power. This guide walks through how to dig a moat, raise ground with the hoe, stop the dreaded building decay system, and use comfort level and the rest buff to your advantage when fighting off trolls and Fulings.
Why Valheim Defensive Walls Matter and Which Materials to Use
The reason every experienced Viking ends up rebuilding their base is simple: a Valheim defensive wall is not just decoration, it is a survival mechanic. The game randomly triggers raid events, and according to community data on the Valheim on Steam store page, raid intensity scales with how many bosses you have already defeated. A starter base in the Meadows can get by with a simple stake wall, but once you push into the Black Forest or the Plains, trolls and Fuling parties will punch right through wood. Knowing the tier of each wall material lets you plan ahead, so you are not rebuilding from scratch every time a new biome unlocks.
Wood vs Core Wood vs Stone Wall Comparison
The three foundational wall types form a clear progression path. Picking the right one for each stage of the game saves you time and resources, especially because higher tier walls also have a larger structural integrity footprint. Our Valheim building guide covers the structural integrity rules in detail, but the quick comparison below shows the core trade-offs.
| Wall Type | Material Cost (per 2m) | Durability Tier | Best Use Case | Notes |
|---|---|---|---|---|
| Wood Wall | 2 Wood | Low | Starter shelters, early Meadows base | Cheap, but trolls and Fulings break it in a few hits |
| Core Wood Wall | 2 Core Wood | Medium | Mid-game Black Forest base | Solid mid-step; resistant to small raids |
| Stone Wall | 4 Stone, 2 Wood | High | Plains and Mistlands endgame | High HP, expensive, and the foundation of late-game Valheim defensive walls |
| Iron Beam + Stone | 4 Stone, 2 Wood + Iron | Very High | Boss prep and Plains main base | Needed if you want a wall that survives Fuling berserker charges |
Stake Wall vs Palisade: Cheap Early Walls
The stake wall and its upgraded palisade version are the bread-and-butter early Valheim defensive walls. They are cheap, fast to build, and surprisingly effective against small troll raids if you back them with a ditch. The catch is that they decay quickly when not connected to a roof or a workbench, so understanding Valheim building decay is critical to keep them standing between raids. Stake walls are great for short-term perimeter, but you should plan to replace them with core wood or stone once you unlock better resources from the Black Forest.
Terraforming, the Hoe, and the Foundation of a Defensive Wall
No serious Valheim defensive wall stands alone, because flat terrain gives raiders a straight run at your door. The hoe is the single most important tool for base defense, and mastering it turns an ordinary base into a fortress. Learning Valheim how to terraform with the hoe gives you the ability to raise earth walls that raiders cannot climb, dig moats they cannot cross, and shape the land so your sightlines favor you instead of the attackers. Many players underestimate this tool and end up with elegant wooden walls that get walked around in seconds.
Valheim Hoe Guide: Raise, Level, and Dig
The hoe has four modes: flatten, raise, level, and dig (path). Each mode consumes stamina based on the number of blocks you alter, and the deeper or higher you go, the more stamina it costs. According to the Valheim Wiki – Fandom, terraforming is the fastest way to break raid AI pathing because mobs prefer to walk around obstacles rather than jump over them. The table below outlines how to use each mode for defensive setups.
| Hoe Mode | Stamina Cost (approx.) | Defensive Use | Notes |
|---|---|---|---|
| Raise Ground | 1–3 per block | Build earth walls 2–3 high around your base | Use to seal off cliff approaches and create a chokepoint |
| Dig (Path) | 1–3 per block | Dig moat trenches 2 deep, 4 wide | Mobs cannot pathfind across a 2-deep trench, so this is the cheapest Valheim defensive wall substitute |
| Level Ground | 1–2 per block | Flatten a build pad for core wood or stone walls | Critical for stone wall structural integrity |
| Flatten | 1 per block | Make walkable ground for outer patrol | Mostly cosmetic, but useful for outer ring paths |
Building the Perfect Moat Around Your Base
A moat is hands-down the strongest early-to-mid game Valheim defensive wall you can build, because no mob in the game can pathfind across a 2-deep trench. Combine it with a 1-tall earth wall on the inside, and even a small group of Fulings will waste their entire aggression timer trying to find a way in. The trick is to plan your moat before you place any structures, because once a base is built, tearing it down to re-dig a moat is expensive. Aim for a perimeter trench that is at least 4 tiles wide and 2 tiles deep, with a single bridge or removable wood section as the only entry point.
Valheim Building Decay, Workbench Coverage, and Roof Rules
Building decay is the silent killer of most defensive walls. Any piece you place that is not within the radius of a workbench, or that does not touch a roof beam, will slowly lose its color, take damage, and eventually collapse. Understanding this system is just as important as knowing how to terraform, because a perfectly raised earth wall means nothing if your stake wall rots away between raids. When players complain that their Valheim defensive walls keep disappearing overnight, the answer is almost always a missing workbench or a broken roof line.
Decay Distance and Workbench Coverage
According to community testing, a standard workbench covers a 20-meter radius, and an upgraded workbench extends that to a 40-meter radius. The decay system ticks down on a timer, so any structure outside the workbench bubble will slowly lose health. The table below summarizes the standard coverage ranges you need to keep in mind when laying out your defensive ring.
| Structure | Coverage Radius | Notes |
|---|---|---|
| Workbench (basic) | 20 m | Covers a small starter base, but not a full defensive ring |
| Workbench (upgraded) | 40 m | Needed for larger bases; place near the center of your build |
| Forge | 40 m | Doubles as a crafting station and decay coverage anchor |
| Roof exposure | Variable | Walls touching a roof beam decay much slower; always close the top of your palisade |
How to Stop Walls from Decaying
The simplest fix is to drop a workbench at the center of your Valheim defensive wall perimeter and upgrade it as soon as you can. Add a forge nearby for extra coverage, and you have a 40-meter bubble that will keep your stake and core wood walls alive indefinitely. For stone walls, decay is less of a concern, but the roof rule still applies. A wall fully exposed to the sky decays faster, so capping your palisade with core wood beams and a thatch or wood roof will dramatically extend its lifespan, especially during long AFK sessions.
Comfort Level, Rest Buff, and Stamina for Wall Builders
Defensive building is stamina-hungry work. Every wall piece and every hoe swing drains your green bar, which means your comfort level and the rest buff are not luxury bonuses, they are core progression tools. A Viking sitting at low comfort regenerates stamina slowly, builds slowly, and dies quickly. Raising comfort level is one of the most underrated parts of any Valheim defensive wall project, because it directly translates to how fast you can terraform and repair after a raid. Comfort and rest also stack, so the two systems together form a builder's economy that you should plan around.
Comfort Level Sources and Their Effects
Comfort level is calculated by the furniture inside your base that has the comfort tag, such as chairs, benches, rugs, banners, and the dragon bed. According to player data compiled by the r/Valheim community, the maximum comfort is around 19, and the bonus becomes very noticeable once you pass 10. The table below lists the most efficient comfort sources to keep your stamina topped up while raising moats and stone walls.
| Item | Comfort Bonus | Best Location | Notes |
|---|---|---|---|
| Chair | +1 | Near crafting stations | Cheap stack; place 3–4 around your workbench |
| Bench | +2 | Longhouse main hall | High comfort per slot |
| Rug | +1 each | Floors and halls | Stacks with chairs and benches for cheap comfort |
| Dragon Bed | +3 | Private bedroom | Highest comfort single item; build one as soon as you can |
| Hanging Banner | +1 | Walls and gates | Decorative and functional; great for inner palisade |
The Rest Buff and Rested Bonus Mechanics
The rest buff, also called Rested, triggers when you sit near a warm campfire with a roof over it for a few in-game seconds. While the rest buff is active, you regenerate health and stamina much faster, which means you can repair damaged Valheim defensive walls and re-terraform faster after a raid. The Rested duration scales with comfort level, so the higher your comfort, the longer the buff lasts. Many experienced Vikings keep a small fire hut near their outer palisade specifically so they can quickly refresh the rest buff between repair cycles. Combining comfort stacking, the rest buff, and a well-placed hoe is what separates a struggling base from an unraidable fortress.
Endgame Wall Strategy: Trolls, Fulings, and Boss Prep
Once you have built the basic Valheim defensive wall system, the next step is tailoring it to specific raid threats. Trolls attack your base in the Black Forest and can one-shot wood walls if you are unlucky. Fuling parties show up in the Plains after Bonemass is defeated, and they can climb, throw, and berserk through anything less than a stone wall with a moat. According to the official Valheim: 1.0 & Deep North – Release Date Reveal Trailer description, late-game biomes like the Deep North raise the stakes even further, so planning for late-game defensive walls during your mid-game base design is a smart move. Pairing your walls with the right raid-specific counters turns your base from a target into a no-go zone for most AI groups.
Threat Tier and Defensive Counter
| Threat Type | Tier | How to Counter | Recommended Wall Setup |
|---|---|---|---|
| Greyling / Greydwarf | Low | Stake wall + campfire | Wood palisade, no moat needed |
| Troll | Medium | Moat + earth wall | 2-deep trench + 1-tall raise, core wood wall behind |
| Fuling | High | Stone wall + moat | 4-deep moat, stone wall on raised ground |
| Fuling Berserker | Very High | Stone + iron beam + ballista | Fully enclosed stone ring with iron-reinforced gates |
| Deathsquito | Special | Covered walkway | Roofed outer ring so they cannot dive-bomb your builders |
| Seeker (Mistlands) | Extreme | Black marble + moat | Stack two moats, raise the entire base, use Ward-protected area if available |
Layered Defense and Chokepoint Design
The strongest Valheim defensive wall layouts use a layered approach: an outer moat to break pathing, a middle earth wall to funnel attackers into a single chokepoint, and an inner stone wall as a final fallback. Place workbenches at every layer so the entire defensive ring is covered against decay, and put a single gate or raised bridge that you can open and close at the chokepoint. Add a row of stakewall spikes inside the chokepoint for bonus damage, and most raids will end with attackers wandering in circles while you pick them off from the inner wall. This kind of layered design also scales well with boss progression, because you can simply add more rings of stone and deeper moats as you unlock the resources.
Frequently Asked Questions
What is the best Valheim defensive wall for early game?
A stake wall combined with a 2-deep moat is the best early game Valheim defensive wall because mobs cannot pathfind across the trench. Upgrade the stake wall to a core wood palisade once you have access to core wood from the Black Forest, and you will comfortably survive the first few raid events.
How does Valheim building decay work and how do I stop it?
Valheim building decay happens when structures are outside the radius of a workbench or not covered by a roof. Drop a workbench at the center of your base and upgrade it to extend coverage to a 40-meter radius, and your walls will no longer rot between raids. Capping the top of your palisade with a roof also slows decay significantly.
How do I terraform for a defensive wall using the hoe?
Learning Valheim how to terraform starts with the hoe's raise and dig modes. Use raise to build 1–2 tile earth walls around your base, and use dig to carve a 2-deep moat around the perimeter. According to community testing, mobs refuse to pathfind across a 2-deep trench, which makes the hoe a stronger defensive tool than most wall materials.
What comfort level do I need to maintain the rest buff while building?
You want at least a comfort level of 10 to make the rest buff worth the effort, and ideally closer to 15+ for the longer durations. Stack chairs, benches, and a dragon bed inside your base, and sit near a roofed campfire to refresh the rest buff before going out to repair or extend your Valheim defensive walls.
Are stone walls enough to survive Fuling raids in the Plains?
Stone walls are necessary but not sufficient on their own. Pair a stone wall with a 4-deep moat and a raised earth platform so Fulings cannot climb or break through easily, and you will survive most Fuling parties. For berserker waves, add iron-reinforced gates and a ballista on the inner wall to fully secure the base.